
Last updated October 30, 2026
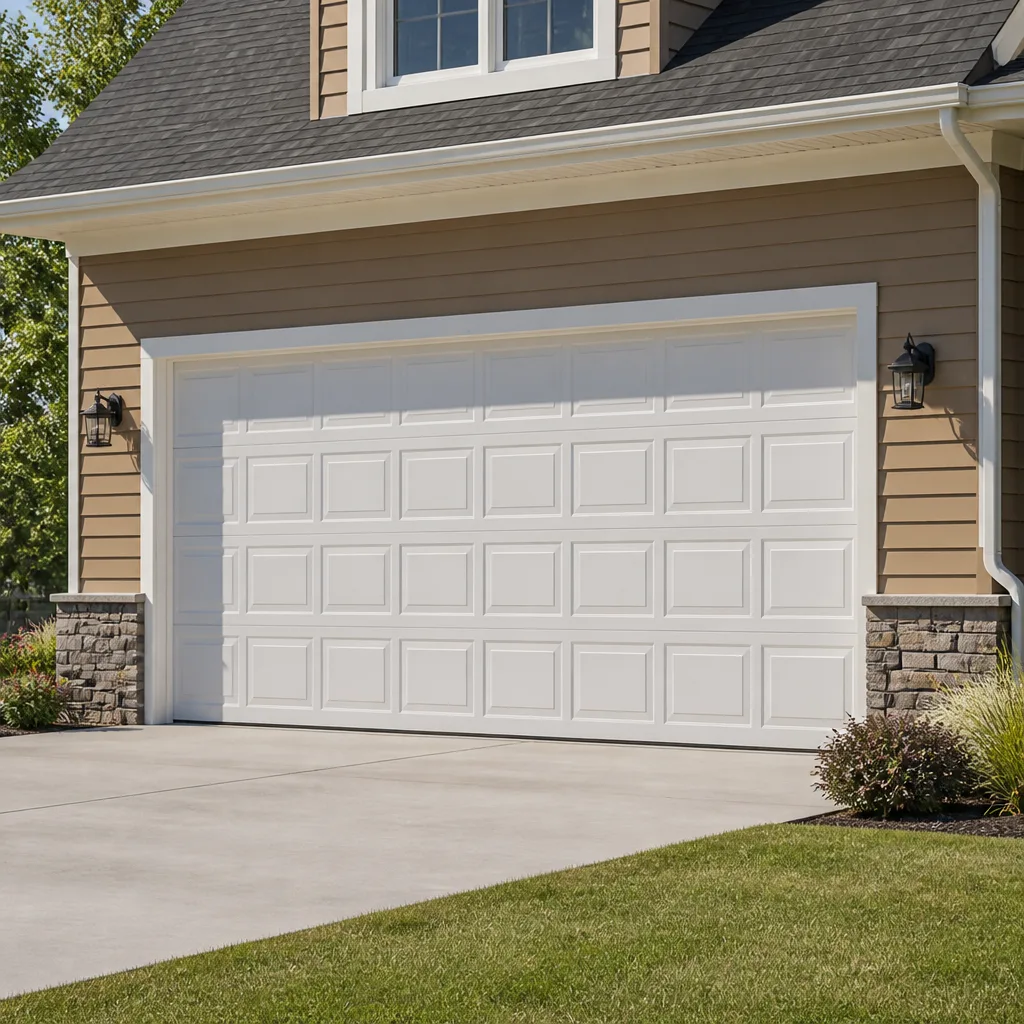 Raised-panel steel
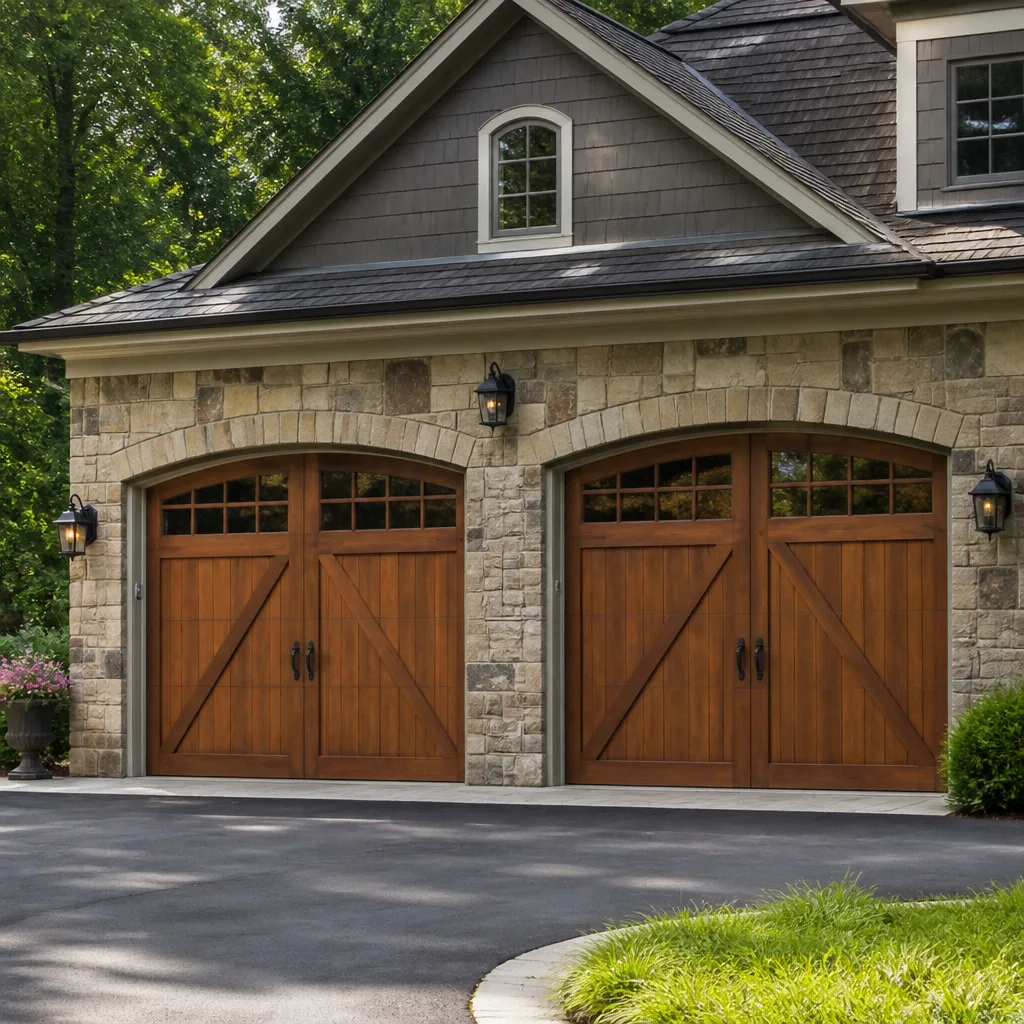 Carriage house
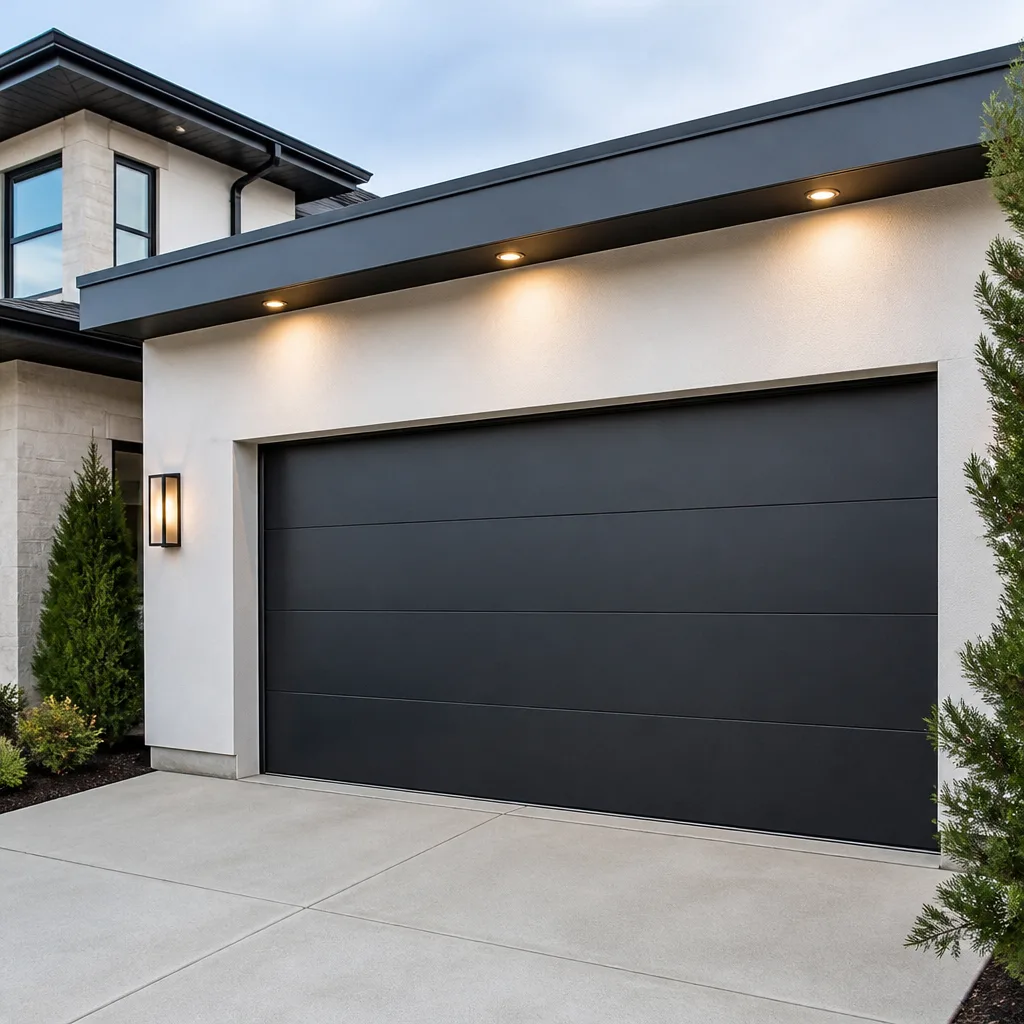 Modern flush
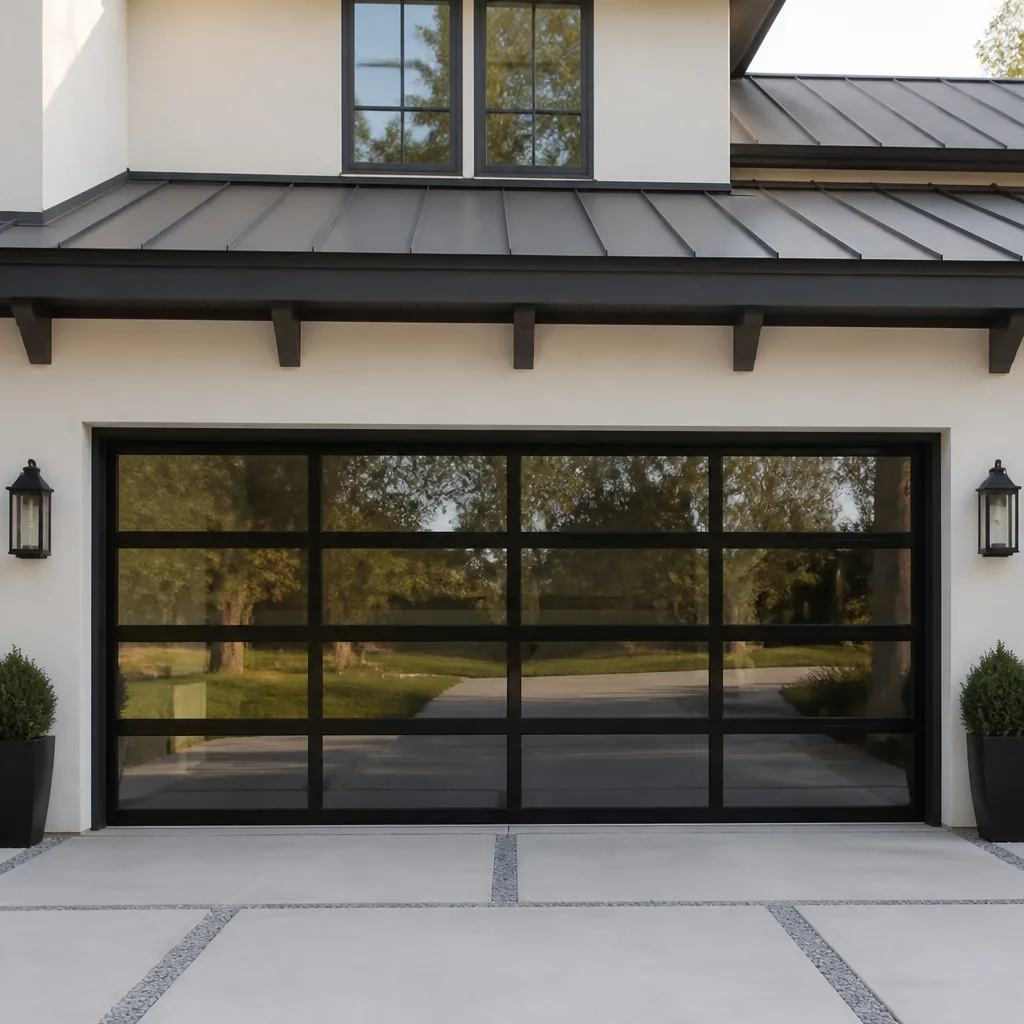 Full-view glass
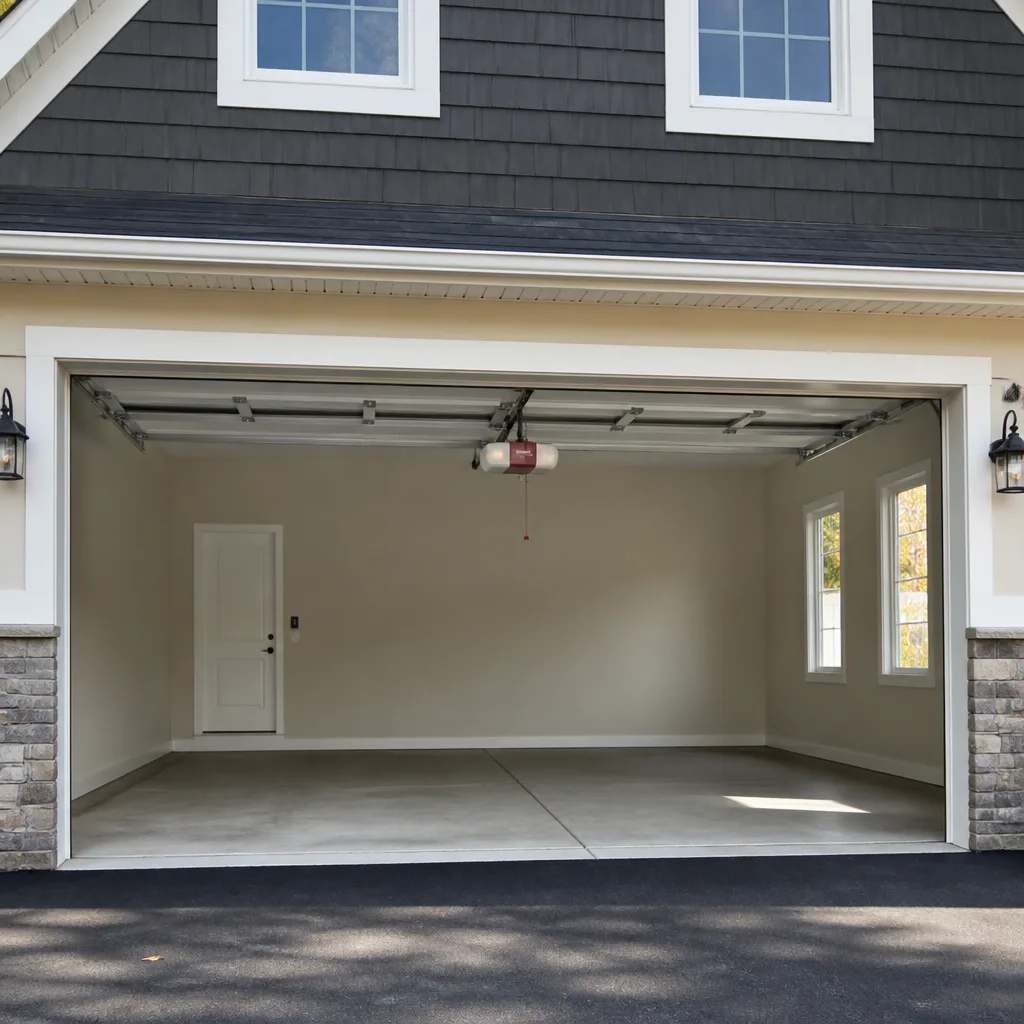 LiftMaster openers
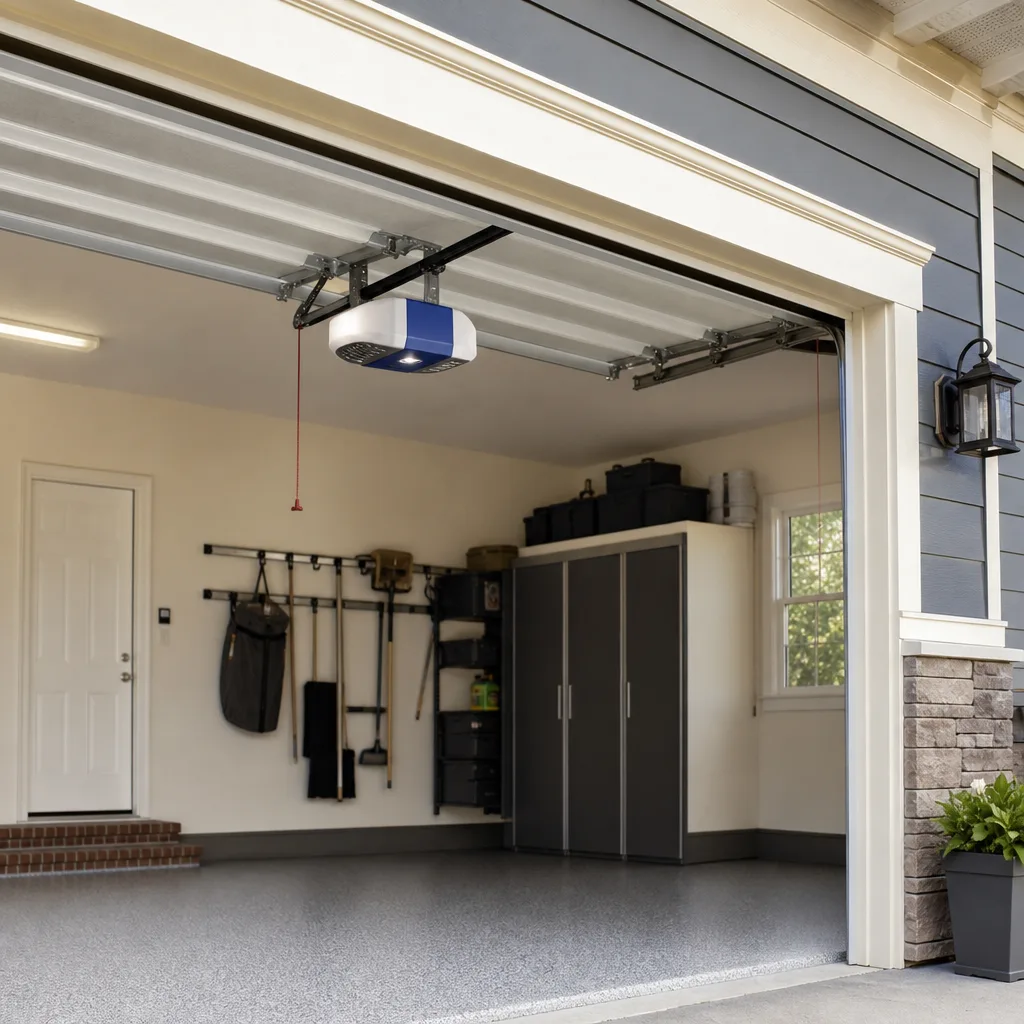 Chamberlain openers
Full 25-point door and opener safety check with every visit - springs, cables, rollers, tracks, and your LiftMaster or Chamberlain opener included
You get a price before we start. It does not change when the truck arrives.
Get your free estimateGarage Door Repair Troubleshooting: Common Problems and How to Fix Them
The most common reason a garage door needs a second repair within six months isn’t that the first technician did bad work. It’s that the broken spring or snapped cable was treated as the whole problem, when it was actually a symptom of a worn drum, a misaligned track, or a roller that seized and dragged the rest of the system down with it. Garage door failures almost never happen in isolation. They follow a chain, one component stressing the next until something gives. This guide teaches you to read that chain the way a specialist does, so you understand what actually went wrong, what to check safely, and what information to have ready before you pick up the phone in Roseville. By the end, you’ll know the difference between a symptom and a root cause, and you’ll know which problems are safe to assess yourself and which ones demand a trained technician.
Styles & brands we work with
Quick Answer
Garage door repair troubleshooting starts with identifying whether the failure is mechanical (springs, cables, rollers, tracks) or electrical (opener motor, logic board, sensors, remote). Most mechanical problems announce themselves through specific sounds and visual cues: grinding means rollers or bearings, popping means springs, scraping means track or cable contact. The fastest path to a correct diagnosis is to gather specific observations, including what sound the door makes and what part of the travel cycle fails, before calling a garage door specialist in Roseville.
Table of Contents
- What Garage Door Sounds Actually Mean: A Symptom to Root Cause Map
- Is It the Opener or the Door? How to Test the Difference
- Safe Visual Checks You Can Do Before Calling a Technician
- Intermittent Failures: Why Your Door Works Sometimes and Not Others
- The Component Chain: How One Worn Part Stresses Everything Else
- The Five Most Common Garage Door Problems in Roseville Homes
- Common Mistakes to Avoid
- When to Call a Professional
- Frequently Asked Questions
- The Bottom Line
What Garage Door Sounds Actually Mean: A Symptom to Root Cause Map
Every garage door has a baseline sound. A well-maintained door produces a steady, low-volume rumble as it travels. When that baseline changes, the new sound is a diagnostic clue. Homeowners often assume a grinding noise means the opener is failing, but in our experience in Roseville, grinding is far more often a mechanical issue with rollers running dry or bearings wearing out in the end plates. Here is what the most common sounds actually indicate, mapped to the component most likely causing them.
- Grinding or metal-on-metal scraping: This typically points to worn rollers with failing ball bearings or dry rollers dragging along the track. If the grinding is localized near the top of the door, the bearing plates on the torsion tube may be the source. The opener motor simply amplifies the resistance it’s working against.
- A loud pop, like a gunshot: That is a torsion spring breaking. It is unmistakable and sudden. In Roseville’s climate, where temperature swings between hot summers and cold winter nights create thermal expansion stress, springs fatigue over time and snap. A single pop means one spring broke. If the door jerks but won’t lift afterward, this is almost certainly the cause.
- Rattling or chattering during travel: Loose hardware is the usual culprit. Nuts and bolts on hinges, track brackets, and opener mounts vibrate loose over years of use. The door may still operate, but the vibration accelerates wear throughout the system.
- Squealing or high-pitched whining: This is often the opener’s belt or chain. A dry chain will squeak. A worn belt can whine. But a squealing sound that occurs only when the door passes a certain point in its travel can also be a roller that has gone square, meaning it scrapes instead of rolling.
- Thumping or banging at the start of travel: When the door struggles to break inertia and bangs as it starts moving, the springs may be losing tension or the opener’s travel limits may be out of adjustment. The motor is working harder than it should at the most demanding moment of the cycle.
The common thread here is that the sound tells you where to look, but rarely tells the whole story. A grinding roller, for instance, is a symptom that something upstream is forcing the door off balance. That imbalance is the root cause. Fix the roller without fixing the balance and you’ll replace the roller again in a year. This is the difference between a repair that holds and one that recurs, and it’s the reason we approach every noise complaint in Roseville as part of a system check rather than a single-part swap. For a deeper look at what to watch for, see our Garage Door Warning Signs: A Roseville Homeowner’s Reference Guide.
Is It the Opener or the Door? How to Test the Difference
The most expensive misdiagnosis in garage door repair is replacing the opener when the door is the problem, or vice versa. The two systems interact constantly, but they fail for different reasons. Openers fail electrically: logic boards burn out, gears strip, capacitors blow. Doors fail mechanically: springs break, cables snap, rollers wear, tracks bend. The key to telling them apart is isolating one from the other.
Here is a simple test sequence, in order:
- Pull the manual release handle. This is the red cord hanging from the opener rail. Pulling it disconnects the door from the opener carriage. Now you are testing the door alone.
- Lift the door by hand. Grab the door handle or bottom edge and lift. A properly balanced door should lift smoothly with roughly 8 to 10 pounds of force and stay open at chest height without dropping. If the door is heavy, drops quickly, or won’t open at all, the problem is mechanical. The springs, cables, or rollers need attention, and no opener adjustment will fix that.
- If the door moves easily by hand, re-engage the opener. Pull the release cord again toward the opener until the carriage reconnects. Run the opener through a cycle. If the door is balanced but the opener stalls, chatters, or won’t move the door, the opener is the problem.
This test takes less than a minute and tells you which system to investigate. Why does this matter so much? Because a new garage door opener in Roseville runs several hundred dollars installed. If the real problem is a broken spring, replacing the opener doesn’t just waste money, it damages the new opener. The motor now has to lift a door with no spring assist, which means it burns through its gears and circuit board far faster than it should. We see this pattern regularly: a homeowner installs a new opener, and three months later wonders why the new unit failed. The door was never balanced, and the opener paid the price.
If you own a LiftMaster or Chamberlain opener, there is one additional check worth doing before calling a technician. The diagnostic LED on the motor unit flashes a pattern when something fails. A single up-arrow flash means a sensor issue. A flashing down-arrow means a motor overload or thermal shutdown. Note the pattern and relay it when you call, it often shortens the diagnosis significantly.
Safe Visual Checks You Can Do Before Calling a Technician
You don’t need to touch anything dangerous to gather useful diagnostic information. The following checks are safe to perform with the door closed and the opener unplugged. They take ten minutes and they give a technician a head start, which means a shorter service visit and often a lower bill.
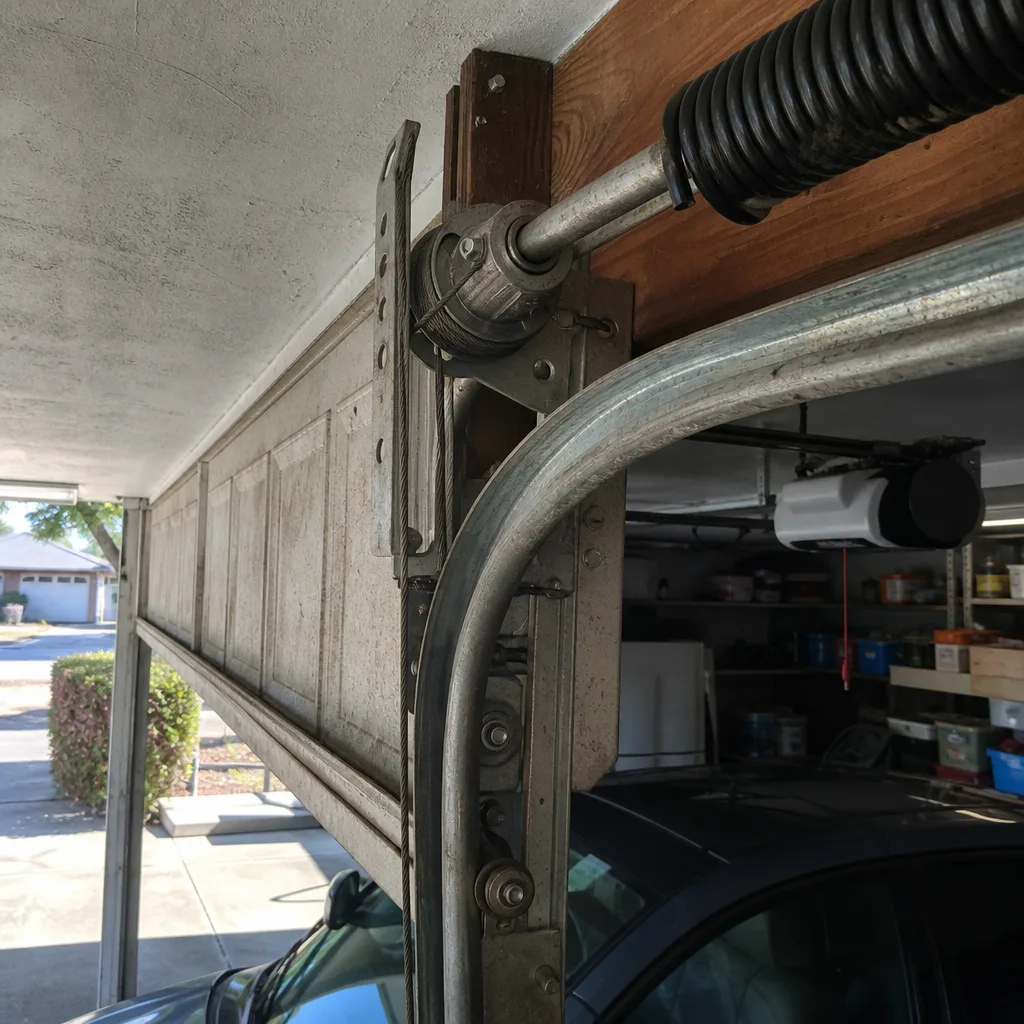
- Look at the torsion springs. The springs sit on a metal tube directly above the closed door. If one has snapped, you’ll see a visible gap in the coil, usually two or three inches wide. One broken spring means the other is carrying the entire door weight and is likely close to failing too.
- Check the lift cables. On each side of the door, a steel cable runs from the bottom bracket up to the drum near the top. Look for fraying, kinks, or a cable that sits loose in its groove. A frayed cable is a countdown to failure, not a slow degradation. It will snap, often while the door is mid-cycle, and the door will slam down on one side.
- Examine the rollers. Rollers sit in the track at each hinge point. Look for cracked nylon wheels or rollers with visible side-to-side wobble. If a roller has gone square, meaning it flat-spotted and is now scraping instead of rolling, the flat side usually shows visible wear marks.
- Inspect the track alignment. Stand a few feet back and sight along each vertical track. Look for gaps between the track and the wall, or a bend that narrows the channel. A track that has drifted inward or outward forces the entire door to fight itself on every cycle.
- Test the sensor alignment. The photo-eye sensors sit at floor level on each side of the opening, about six inches up. Each has a small LED light. If one light is blinking, the sensors are out of alignment or one is damaged. If both lights are solid but blinking on the motor unit persists, the problem is wiring or the logic board.
Here is what to write down before you call a garage door repair specialist in Roseville. Note the exact sound the door makes and when in the travel cycle it happens. Note whether the failure is consistent or intermittent. Note the brand of door and opener, which you’ll find on the labels. Note the age of the door if you know it, the install date is usually on a sticker near the top panel. Having this ready means we can often diagnose the likely cause over the phone and bring the right parts on the first trip. For more detail on what a full repair visit in the area involves, see our guide to Garage Door Repair in Roseville.
Intermittent Failures: Why Your Door Works Sometimes and Not Others
An intermittent garage door is the most frustrating failure and, frankly, the hardest to diagnose. The door works for six days and fails on the seventh. You reset something, it works again, and you convince yourself it was a fluke. Then it happens again. Intermittent failures are almost always caused by one of three things, and the key to finding the pattern is logging what changed between a successful cycle and a failed one.
Cause one: temperature-sensitive components. In Roseville, summer heat and winter cold affect the viscosity of lubricants and the metal tension in springs. A door that fails on the coldest morning of the year but works fine by afternoon has a spring tension problem. Springs weaken in cold weather, meaning a marginally-balanced door becomes unmanageable when temperatures drop. A door that fails on hot afternoons may have an opener logic board that is heat-sensitive and shutting down thermally.
Cause two: a failing travel limit module. Many openers, especially older models from Craftsman and Genie, use mechanical limit switches inside the opener to determine top and bottom stops. As these wear, the switch contact degrades. Sometimes it works, sometimes it doesn’t. The symptom is a door that occasionally opens fine but refuses to close, or closes but reverses immediately, with no predictable pattern.
Cause three: sensor misalignment that shifts with vibration. The photo-eye sensors are mounted on flimsy brackets in many installations. Every door cycle creates vibration, and over months that vibration can nudge a sensor out of alignment by a millimeter. The result is a door that closes when the sensor happens to be aligned, and refuses when it doesn’t. The failure seems random, but it’s actually positional.
Here is what to log between service calls. Note the time of day the failure occurs. Note the outdoor temperature. Note whether the failure happens on the first cycle of the day after the door sat overnight, or after several consecutive cycles. This pattern data is more valuable than any video a homeowner can take, and it often converts a frustrating hour-long diagnostic session into a ten-minute fix. When you call a specialist with a log like this, you are giving them the exact information they need to find an intermittent fault without guessing.
The Component Chain: How One Worn Part Stresses Everything Else
A garage door is a system of connected components, and every one of them is working harder when another one degrades. Understanding this chain is what separates a lasting repair from a repeat service call. The most instructive example is the relationship between a failing torsion spring and the opener motor.
A standard residential garage door weighs between 150 and 250 pounds. The torsion spring system is designed to counterbalance nearly all of that weight, so the opener motor only has to lift a small fraction of it. When a spring weakens, either through age or a gradual loss of tension, the opener must compensate for that increased load. A door that was balanced with eight pounds of lifting force now requires twenty, then thirty. The motor is now working at a load it was never designed for. The gears inside the opener, typically plastic or nylon on consumer-grade units, start stripping. The circuit board runs hotter. The capacitor ages faster.
What does this mean in practice? It means that by the time you notice the door feels heavy or the opener sounds strained, the spring has already been compromised for weeks or months. And it means that if you replace the opener without addressing the spring, the new opener starts its life under the same excessive load. We’ve seen new LiftMaster and Chamberlain units fail within a year in these conditions, in otherwise ordinary Roseville garages, not because the opener was defective but because the door they were connected to was out of balance.
The chain doesn’t stop at the spring. A worn roller increases friction, which increases the load the spring must counterbalance. A misaligned track forces the door to flex, which stresses the panels and the hinges. A frayed cable changes the tension distribution, putting more weight on one side and wearing the drum unevenly. Everything is connected. The practical takeaway is simple, when one component fails, the wise move is not to replace it in isolation, but to inspect the components it connects to. That is how a professional finds the root cause, and it’s the philosophy behind every repair we do.
The Five Most Common Garage Door Problems in Roseville Homes
Roseville’s specific conditions shape which garage door problems appear most often here. We’re in a climate with hot, dry summers and cool, wet winters. The temperature swings put thermal stress on metal components. The dry summer air accelerates the drying of lubricants. The winter moisture, especially in older neighborhoods with uninsulated garage walls, promotes rust on hardware. Here are the five problems we see most frequently across Roseville, from Folsom Road to Westpark and everywhere between.
1. Broken Torsion Springs
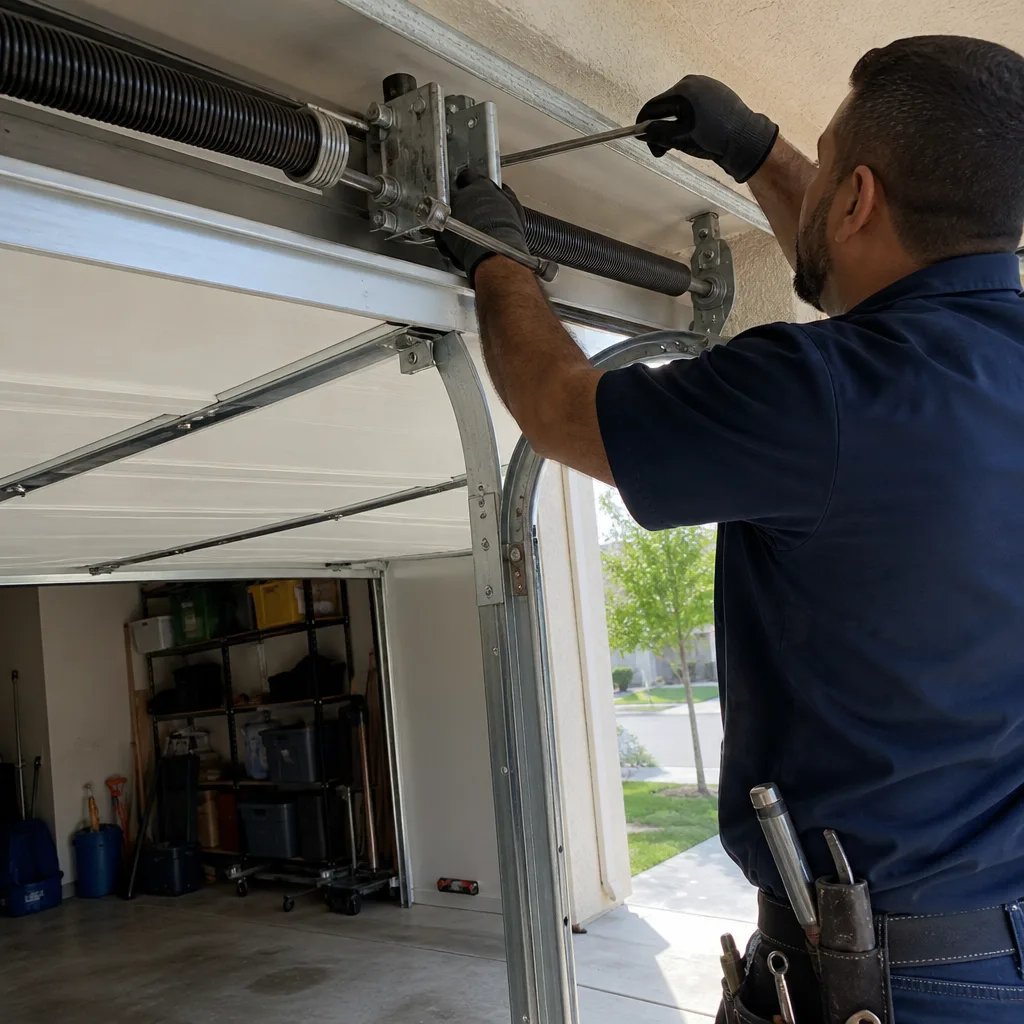
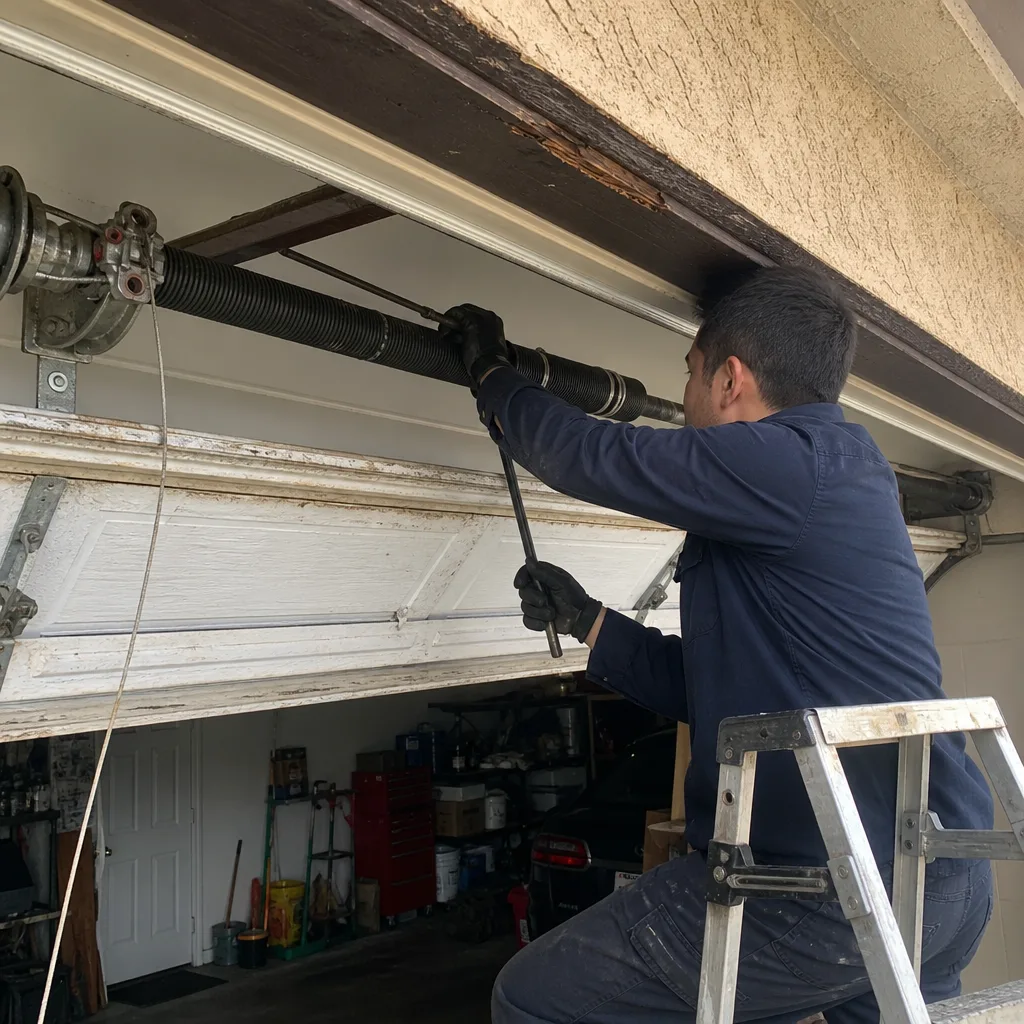
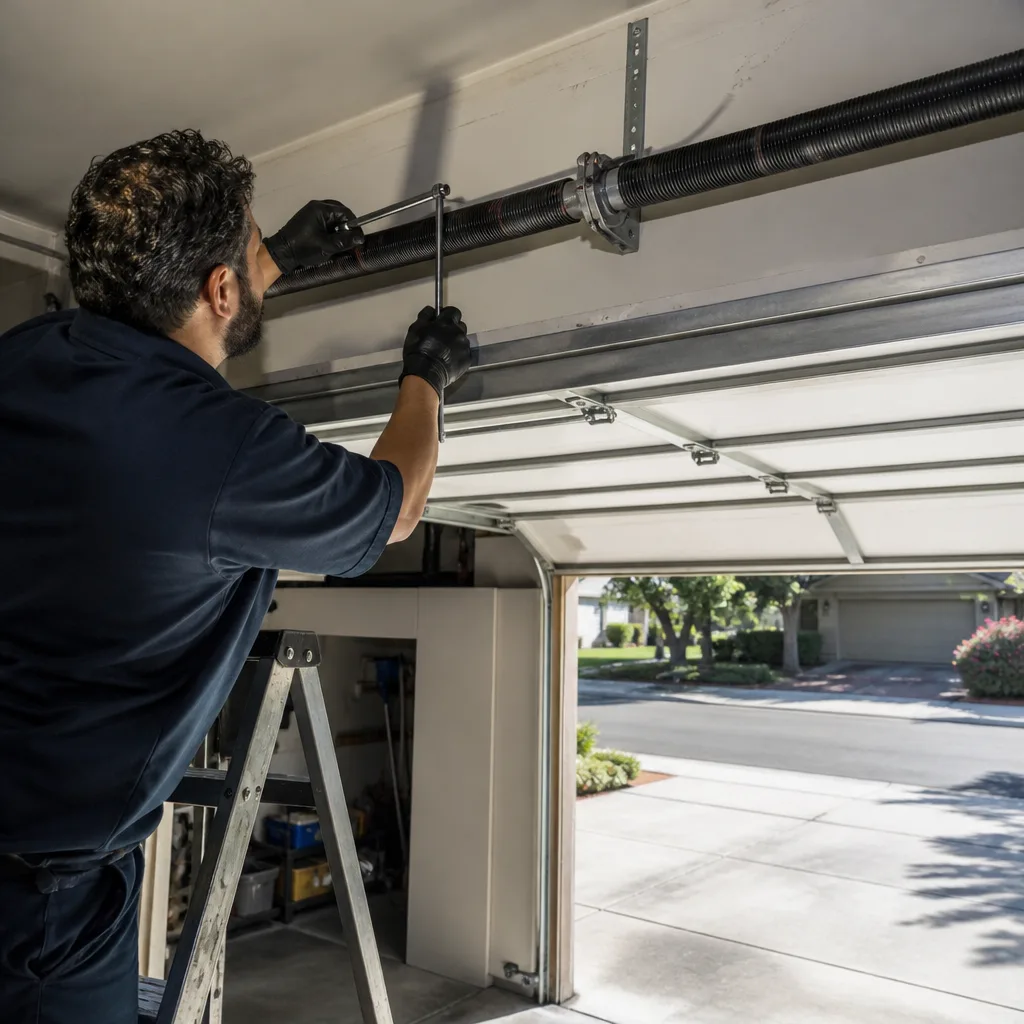
This is the single most common repair call we receive in Roseville, and it is directly tied to our climate. Torsion springs are rated for a specific number of cycles, typically 10,000 to 20,000 depending on quality. A homeowner who cycles the door four times a day will wear through that rating in roughly seven to fourteen years. The temperature swings in Roseville accelerate metal fatigue. When a spring breaks, it is not a repair to attempt yourself. The tension in a torsion spring is enough to cause serious injury. This is a job for a trained professional with the right winding bars and experience. We also always recommend replacing both springs when one breaks, since they wear at the same rate and the second failure is typically weeks away. If your opener is newer, this advice matters even more, because running a door on one spring puts the asymmetric load directly onto the opener’s gears.
2. Opener Gear and Sprocket Failure
Openers from every major brand, including Raynor and Wayne Dalton models, contain plastic gears that eventually strip. We touched on why above: when a door goes out of balance, the motor works harder and the gears sacrifice themselves. But gears also fail from simple age, especially in homes where the garage door is the primary entrance and the opener cycles thousands of times per year. The symptom is usually a motor that runs but a door that doesn’t move, accompanied by a grinding sound from inside the opener housing. In most cases, the gear can be rebuilt without replacing the entire opener, which is a significant cost difference. If you hear the motor spinning and see the sprocket turning but the chain or belt isn’t moving, save yourself a service call and note that observation for the technician.
3. Misaligned or Obstructed Photo-Eye Sensors
Roseville homeowners with active kids, garden equipment, and busy garages bump the sensor brackets constantly. A bicycle leaning against the rail, a storage bin nudged against the wall, a leaf blower hung near the sensor, any of these can knock a sensor out of alignment. The symptom is a door that refuses to close, or closes partway and then reverses with the lights flashing. Before calling anyone, check that the sensors are pointing at each other, that their lenses are clean, and that nothing is blocking the beam. This is an intermittent problem by nature, making it harder to spot. But it’s also the easiest problem on this list to fix without a service call, provided you can see the obstruction.
4. Track Alignment Issues from Vehicle Contact
A surprising number of Roseville homes have garage doors that have been clipped by a car bumper at some point. The result is a track that looks fine at a glance but is bent inward at the bottom, narrowing the roller channel. The door starts to bind, especially in the last foot of travel. Panels flex. Rollers pop out. It gets worse over time. A homeowner can often see this bend by sighting down the track with the door closed, looking for where the vertical track leaves the wall. Fixing it properly involves more than just bending the track back, because the wall brackets and the bottom fixture have likely shifted too. This is a job where the original collision damage is the root cause, and the visible track bend is the symptom.
5. Worn Rollers and Hinges
Rollers are the quiet workhorses of the door, and in Roseville’s dry summer climate, the bearing grease inside them dries out faster than it does in coastal areas. A roller that runs dry will eventually seize and drag, and a dragging roller grinds a flat spot onto its wheel over time. From there, the door starts shaking on every cycle. If you catch worn rollers early, replacement is straightforward and relatively inexpensive. If you wait until they’ve failed completely, they take hinges and sometimes panel edges with them. Roller replacement on torsion spring doors is not a safe DIY task, since the bottom roller brackets are under spring tension. But the visual check costs you nothing.
If you’re dealing with an opener-specific issue rather than a door problem, our Garage Door Opener Repair in Roseville guide covers those failures in depth. And if a repair reveals that your door is beyond economic repair, we walk you through replacement options in our Garage Door Installation in Roseville guide.
Common Mistakes to Avoid
- Replacing the opener without checking the door balance first. This is the most expensive mistake in garage door repair. A new opener will not fix a broken spring or a misaligned track, and it will fail prematurely under the excess load. Pull the release handle and test the door by hand before spending anything.
- Lubricating the wrong parts, or the right parts with the wrong product. WD-40 is a solvent, not a lubricant, and it strips away grease. Garage door rollers, hinges, and springs need a silicone-based or lithium-based garage door lubricant. And never lubricate the track itself; that attracts dirt and creates a grinding paste.
- Tightening the red tension screws on the bottom cable brackets. The cables and bottom brackets on a torsion spring door are under extreme tension. If you don’t know exactly what you’re doing, touching these is dangerous. This is one of the few garage door repairs that genuinely warrants a professional on every occasion.
- Assuming a blinking opener light means new sensors. In many cases, the sensors are fine and the problem is a wire that’s been chewed by a rodent, a staple that’s pierced the insulation, or a logic board that’s failing. Replacing the sensors first is a guess, not a diagnosis.
- Ignoring a cable showing one or two broken strands. A frayed cable is not a slow failure. It is a failure that has already begun. The remaining strands are carrying more load than they were designed for, and the final snap is often sudden and violent. If you see fraying, stop using the door and call a specialist.
- Running the door on a broken spring “for a few more days.” Every cycle on a broken spring puts the entire door weight on the opener and on the remaining spring, if one is left. It’s not a convenience, it’s an active damage multiplier. The cheapest repair is the one made immediately.
- Attempting to bend a bent track back by hand. Once a track is bent, its structural integrity is compromised. Straightening it manually changes the geometry and usually creates a new problem at the bend point. Tracks that have been hit hard by a vehicle usually need bracket realignment or replacement, not just persuasion.
When to Call a Professional
Some garage door problems are safe to observe and even fix yourself. Others are not. Broken torsion springs fall firmly into the second category, the stored energy in a wound spring is more than enough to break bones or worse. Snapped lift cables, bottom bracket failures, and any repair involving working above the door with the springs mounted are professional jobs. So is any opener repair involving the logic board or motor internals. And if your door has come off its tracks entirely, stop using it, unplug the opener, and keep the area clear until a technician arrives. All Star Garage Door Co offers free estimates in Roseville, call (855) 684-6988 and a technician will diagnose the root cause rather than just swapping the first part that looks broken.
You can always start with the main All Star Garage Door Co home page for a full overview of what we do across Roseville and the surrounding area.
Frequently Asked Questions
A garage door that opens but won’t close almost always points to the photo-eye sensors, meaning their beam is blocked, their lenses are dirty, or their alignment has shifted. The opener’s safety logic prevents closing when it can’t confirm the beam is unbroken. Check for obstructions at floor level, clean the sensor lenses with a soft cloth, and see if one sensor light is blinking. If both lights are solid and the door still refuses, the issue may be a failing travel limit module or wiring damage. Call us at (855) 684-6988 if the simple checks don’t resolve it.
Most garage door repairs in Roseville fall into predictable ranges depending on the component: roller replacement typically runs $120 to $200, a single spring replacement $200 to $350, a full spring pair $300 to $500, cable replacement $150 to $250, and opener gear rebuilds $180 to $320. Emergency service and the door’s brand, a Wayne Dalton door, for instance, may use proprietary parts that carry a premium, can move those numbers. For an exact quote with no obligation, call (855) 684-6988 and we’ll price the repair before any work begins.
No, you should not attempt to replace a broken torsion spring yourself. The torsion spring is wound under hundreds of pounds of torque, and if the winding bar slips, it releases that energy instantly onto whatever is in its path. Professional technicians use matched winding bars, correct spring sizing based on door weight and height, and specific winding procedures. This is not a task where watching a video provides enough training to be safe.
When a door hits the floor and immediately reverses, the down-limit setting on the opener is set too low, or the opener’s force sensitivity is detecting excess resistance at the bottom stop. It can also indicate a track obstruction or a frayed cable catching near the bottom bracket. Adjusting the limit is sometimes all that’s needed, but if the door has recently become noisy at the bottom of its travel, have the full travel path inspected.
Yes, and Roseville homeowners feel it most in winter. Cold temperatures make torsion springs stiffer and slightly weaker, which reduces the lift assistance they provide. A door that is marginally balanced in warm weather can become too heavy to lift on a cold morning. Heat also affects openers, with thermal shutdowns possible on hot summer afternoons in uninsulated garages.
LiftMaster and Chamberlain, both from the same parent company, are the most widely installed opener brands in the U.S. and have reliably delivered solid performance for years. Genie and Craftsman openers also remain common in Roseville homes, and any of these brands can last well beyond a decade if the door underneath them stays balanced. The opener’s reliability is often determined less by brand and more by whether it was installed on a door that was properly counterbalanced from day one.
Learn more about opener-specific diagnostic steps in our Garage Door Opener Repair in Roseville guide.
The Bottom Line
Garage door troubleshooting is a process of tracing symptoms to root causes, and a door that fails once usually has a history that explains it. The sounds your door makes, the point in its travel where it struggles, and the pattern of intermittent failures all point to specific components under specific stress. Running through the safe checks here will tell you whether you’re dealing with a mechanical issue or an opener issue, and it will give a technician the information needed to fix the right problem the first time. The smartest move is always to call for a professional evaluation before a small problem becomes a big one, and to choose a specialist who reads the whole chain rather than replacing the broken part in isolation. From a broken spring to a full new door, one call covers it.
Written by the team at All Star Garage Door Co, serving Roseville since 2015.
See the difference
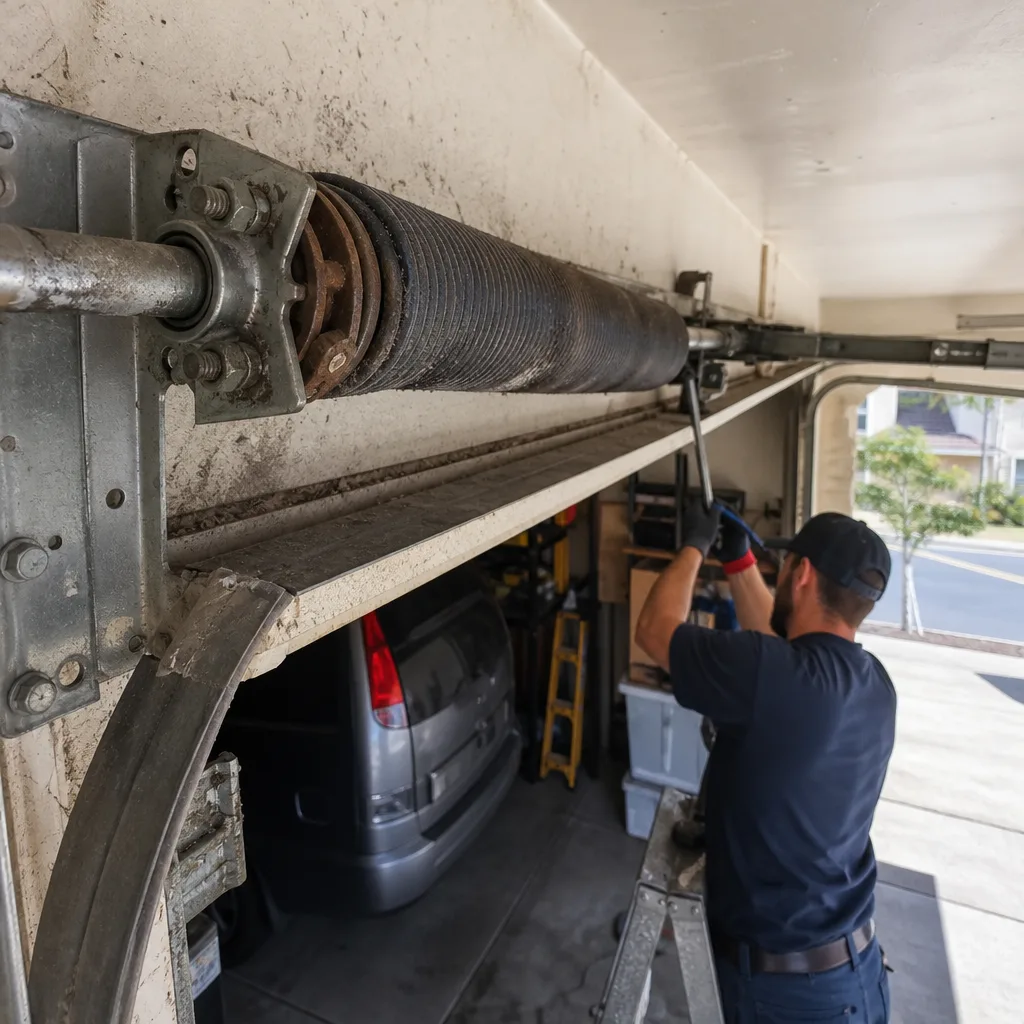 Before
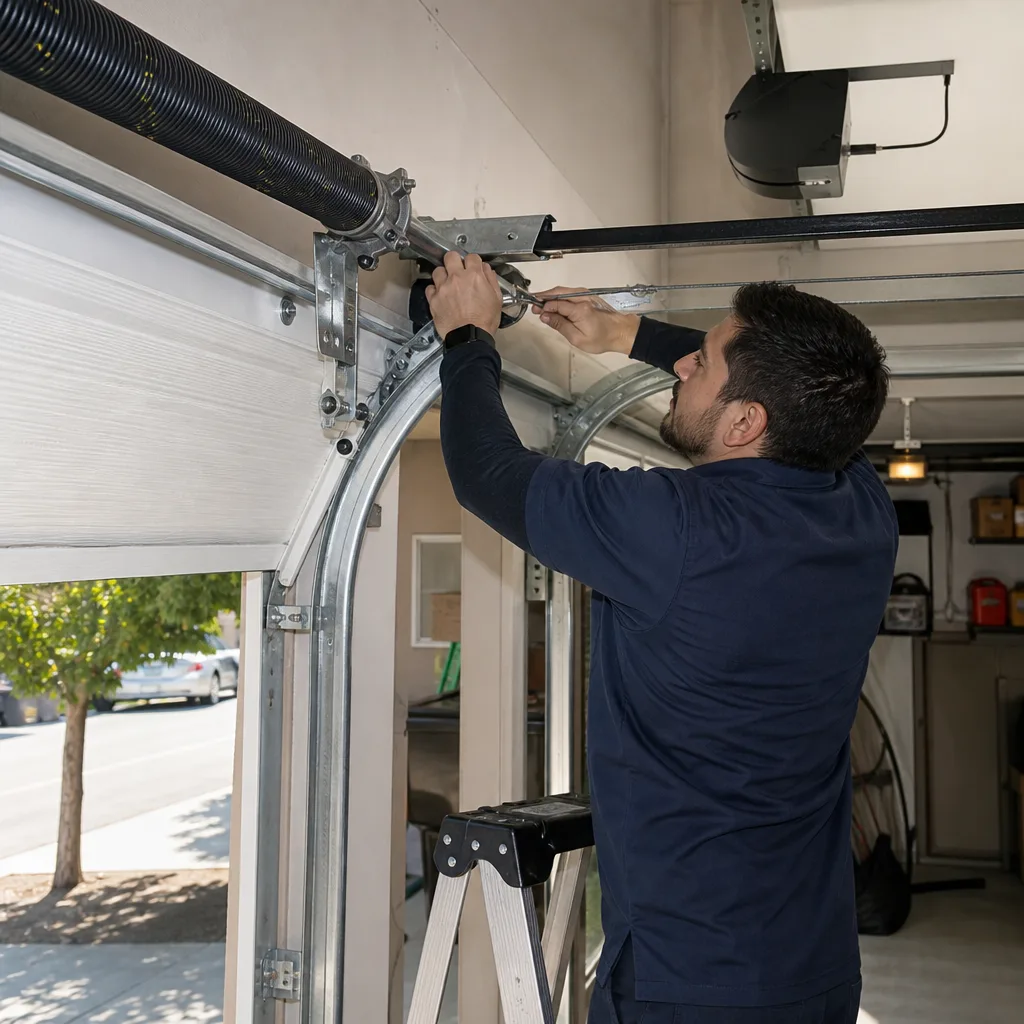 After
 Before
 After
 Before
 After